How to select a special skin for Kodi / XBMC
Changing your default skin to a supported KODI skin will bring new life and new features to your ZDMC experience. Here is a quick rundown on how to achieve this:
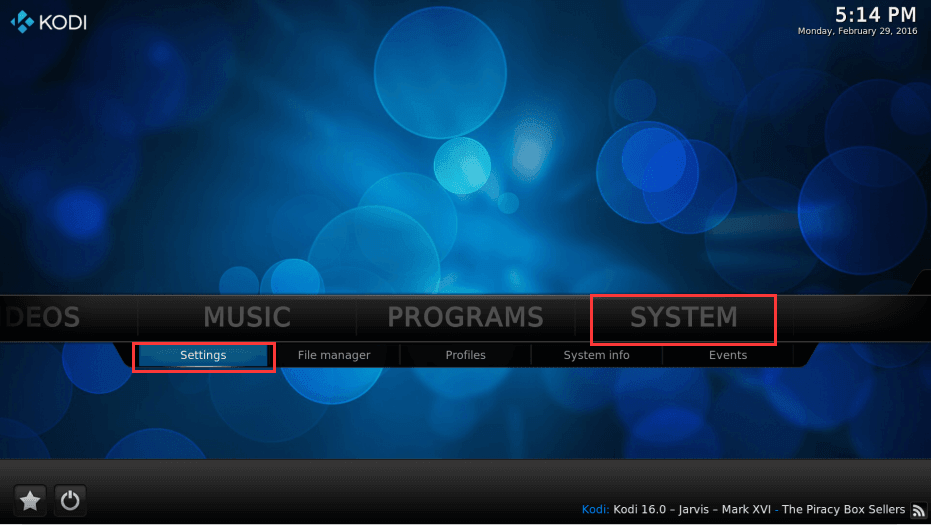
Step 1: Open Kodi / XBMC, Hover
over System and then click
on Settings.
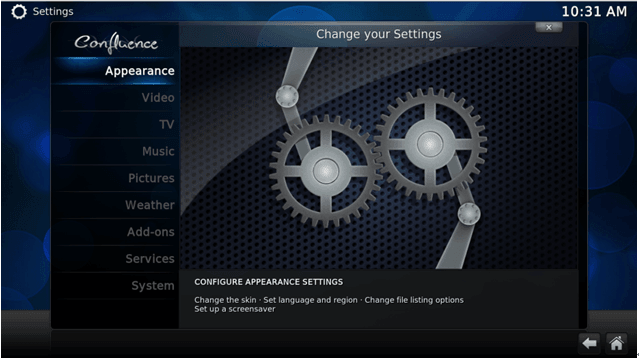
Step 2: Click on the first button
Appearance
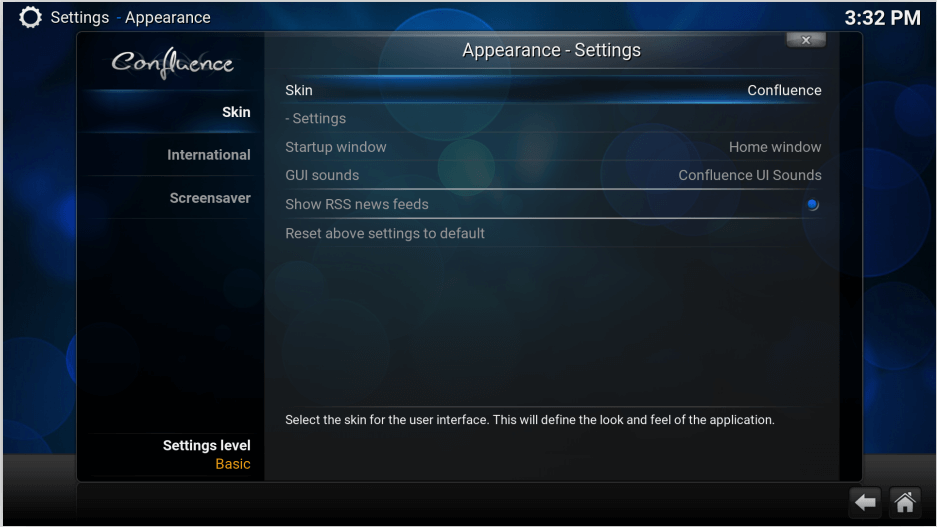
Step 3: Select skin and click on it
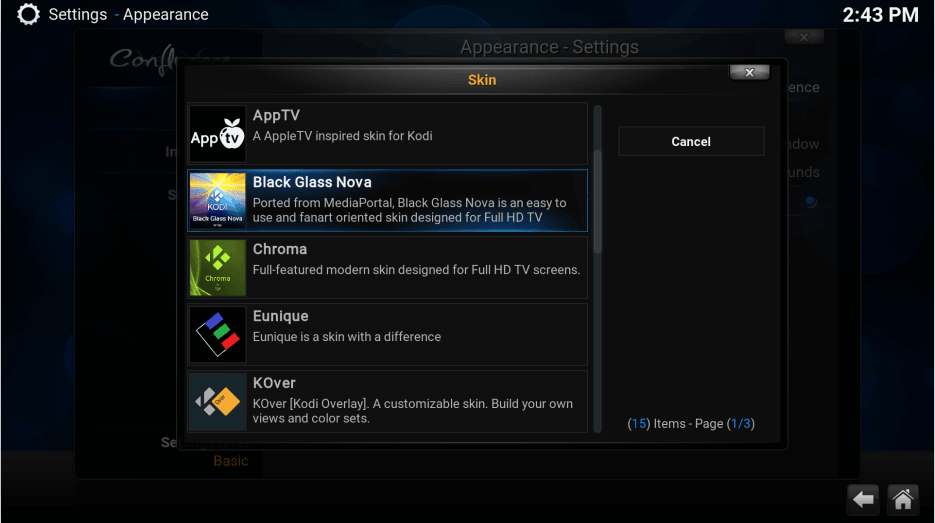
Step 4: Select one of the skins
installed or Click "Get more..." to select more available skins.
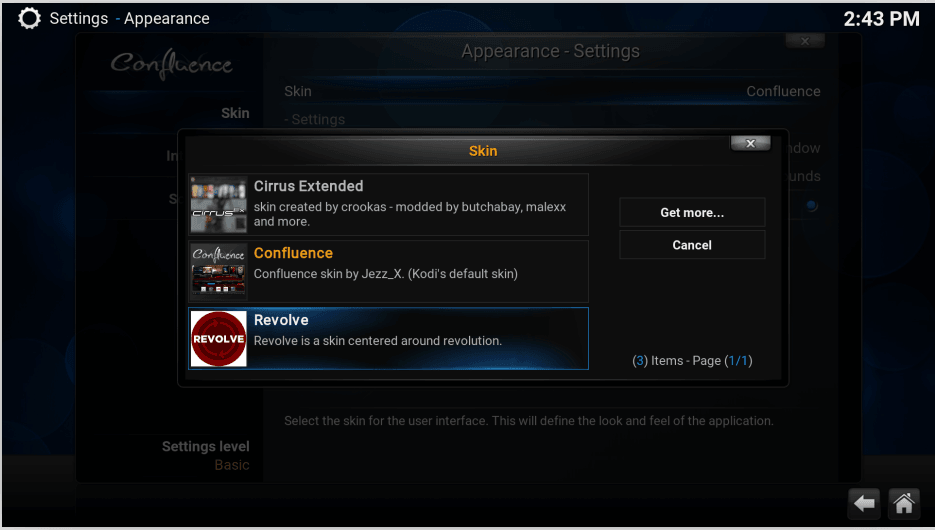
Step 5: Click to install one of the skins
you like.
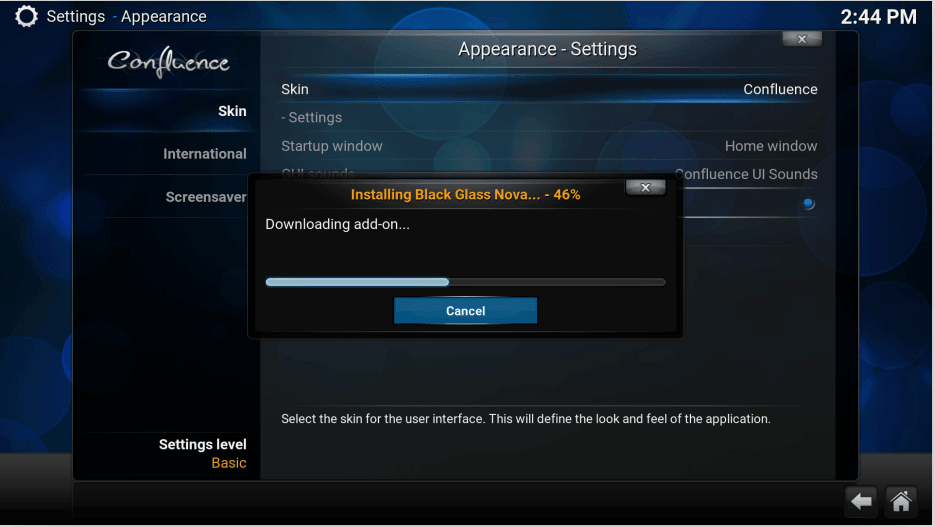
Installing will take a moment, so
please wait...
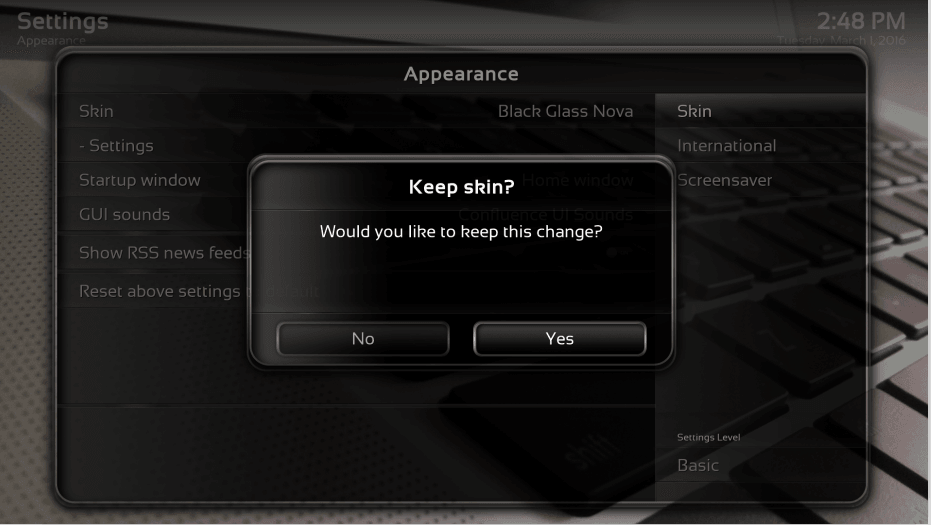
Step 6: When installation of the skin
finishes,select “Yes" to make the
skin your default skin.
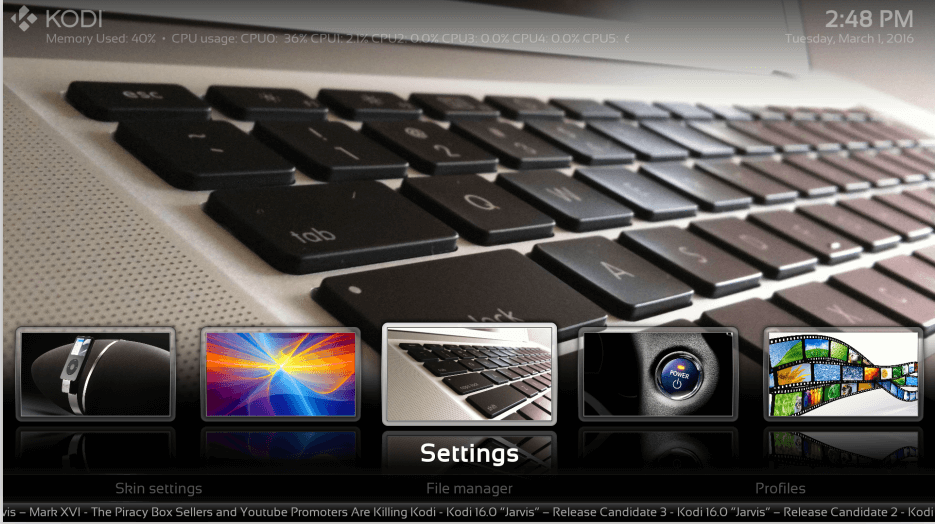
Congratulations, you have installed a new skin.
For more information, refer to: http://kodi.wiki/view/skins
