How to flash Z9X PRO
NOTE: Please remove all the external storage device(such as Sdcard、SATA、USB)on box before you flash it. Just keep the one USB you need for flashing.
There is some risk for flashing your Z9X PRO BOX, please be quite careful to do it. (It will clean out user data entirely, please follow the instructional tutorial or seek guidance from official professionals when flashing the device for the first time! )
The following Flashing Process is about Z9X PRO, attaching Z9X PRO TV BOX:
First, do some preparations:
① A Z9X PRO TV BOX, one HDMI cable, A TV set (You kept surely, do not say any more);
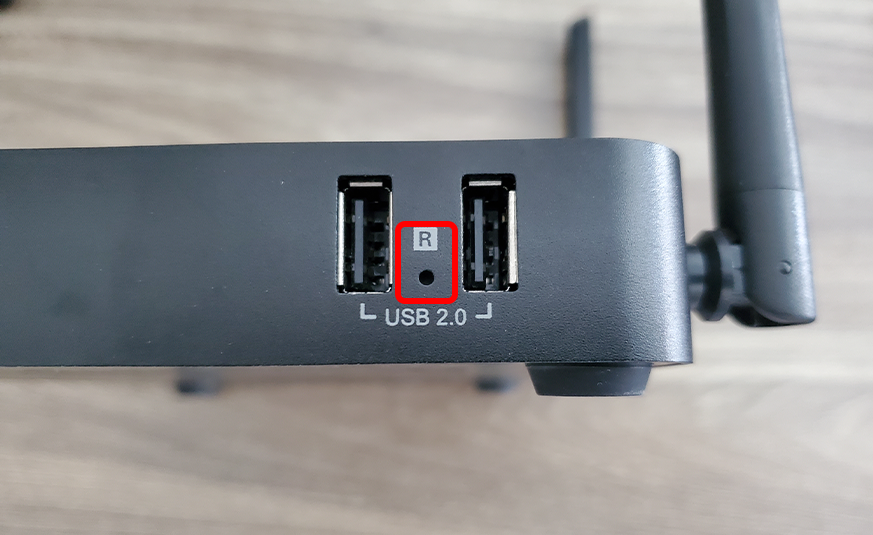
② a quite fine needle, you can use other finer tools instead of it, such as toothpick, etc. ( In order to hold down the Restore button );
③U disk, ensuring that it is as below the format of FAT32
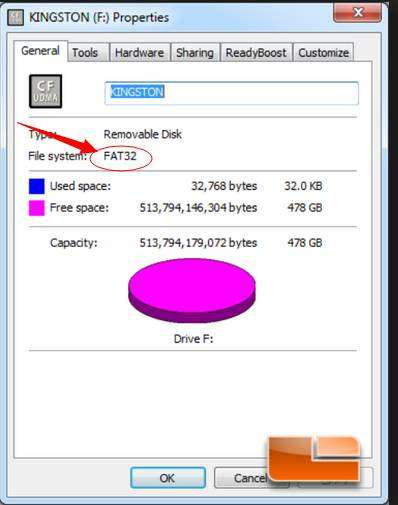
At the beginning, you need to download the ROM and rename to "install.img";
【Z9X PRO Flashing Files】
Version:v1.0.52
MD5:CF4273298CF59451A4D71A0F4225BCF
Download link:http://apidl.zidoo.tv/1619B/Z9X-PRO_11_v1.0.52_202307201442_usb-install.img
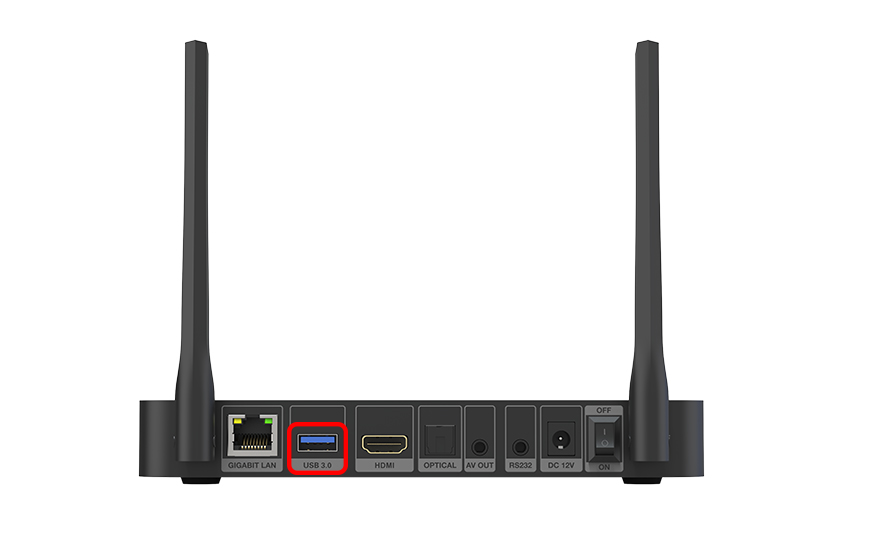
then copied it to the Root Directory of the Udisk, then, insert U disk into one of USB3.0 port, as shown below red line mark.
Flash your box now: First, press the RESTORE button then turn on the power by the same time.
The TV will show the schedule if you have connected to TV, proved that you are flashing now. Release the Restore key now.
(If the schedule is not shown or have a green screen, it is a normal phenomenon, don't power off, just wait for 10 minute until the vfd shows "hello")
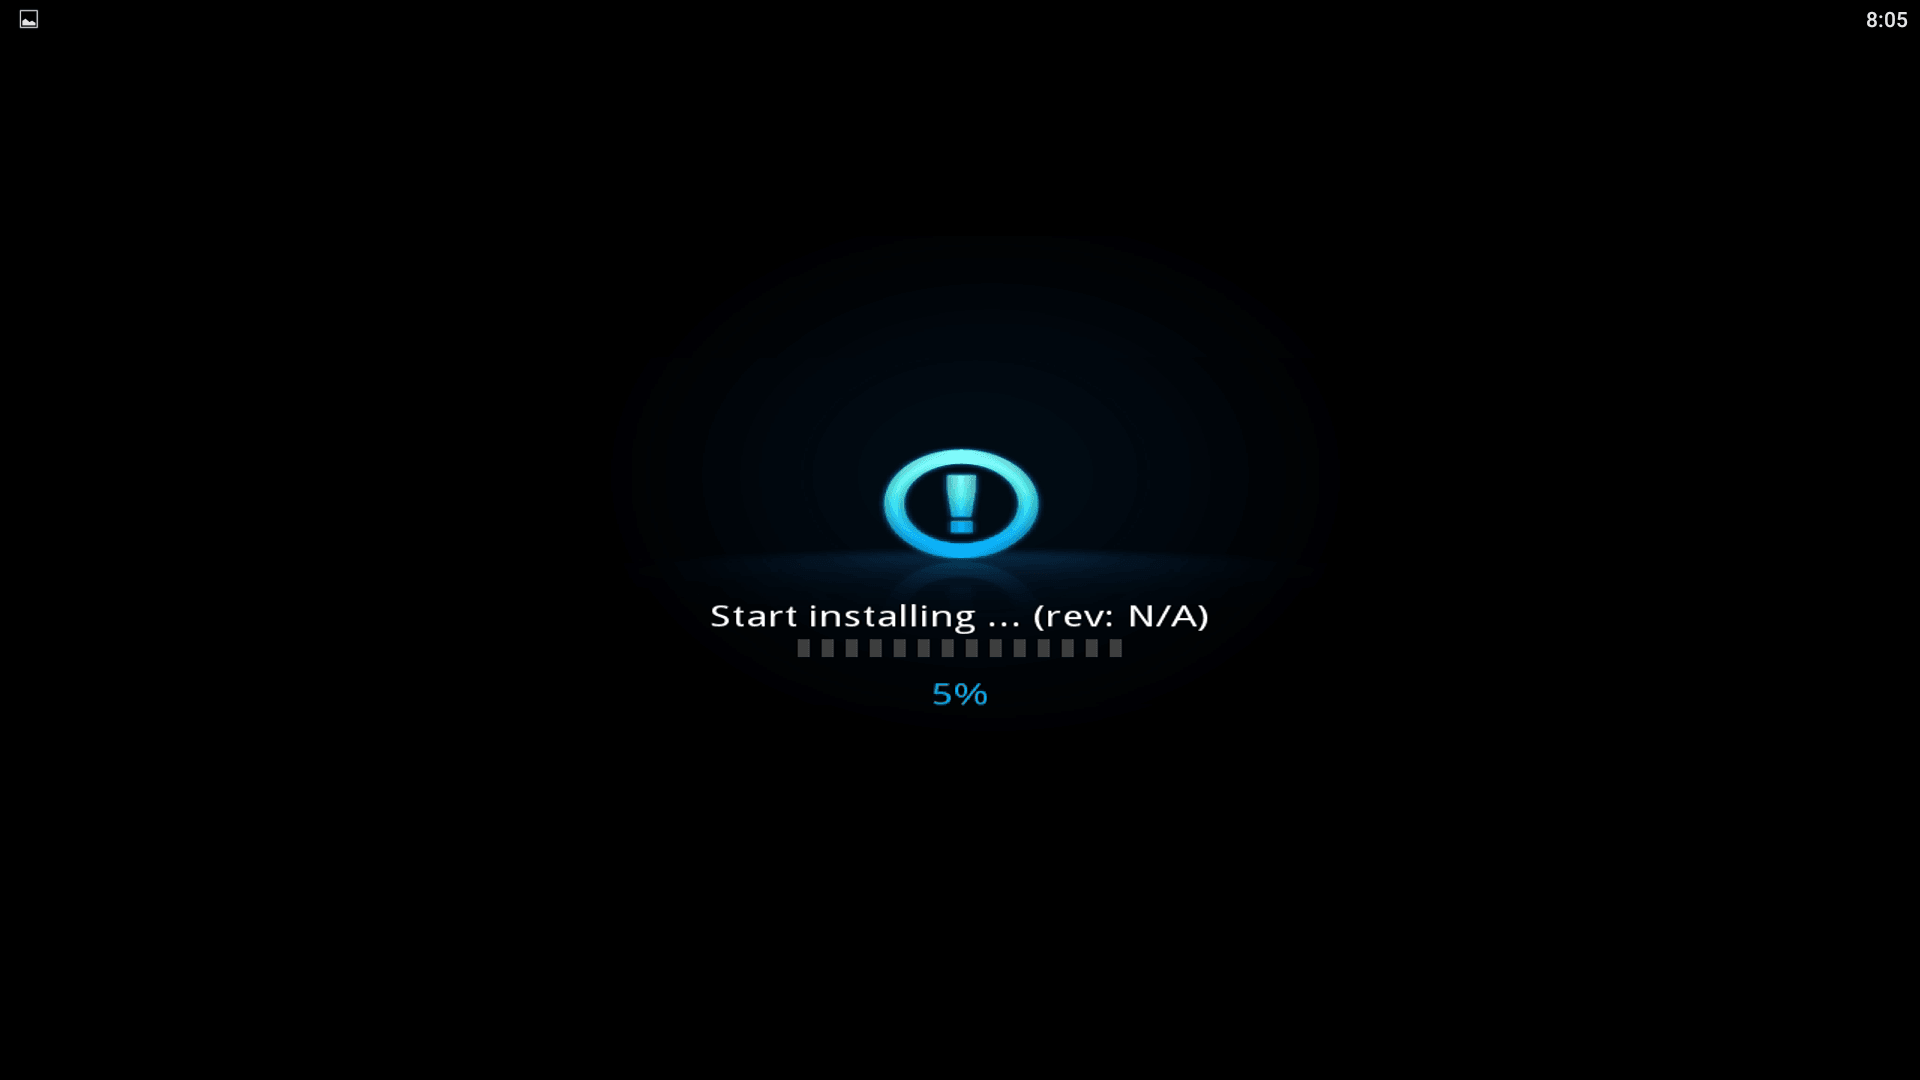
the flashing process is about two minutes, after finishing flashing will showed Install completed.
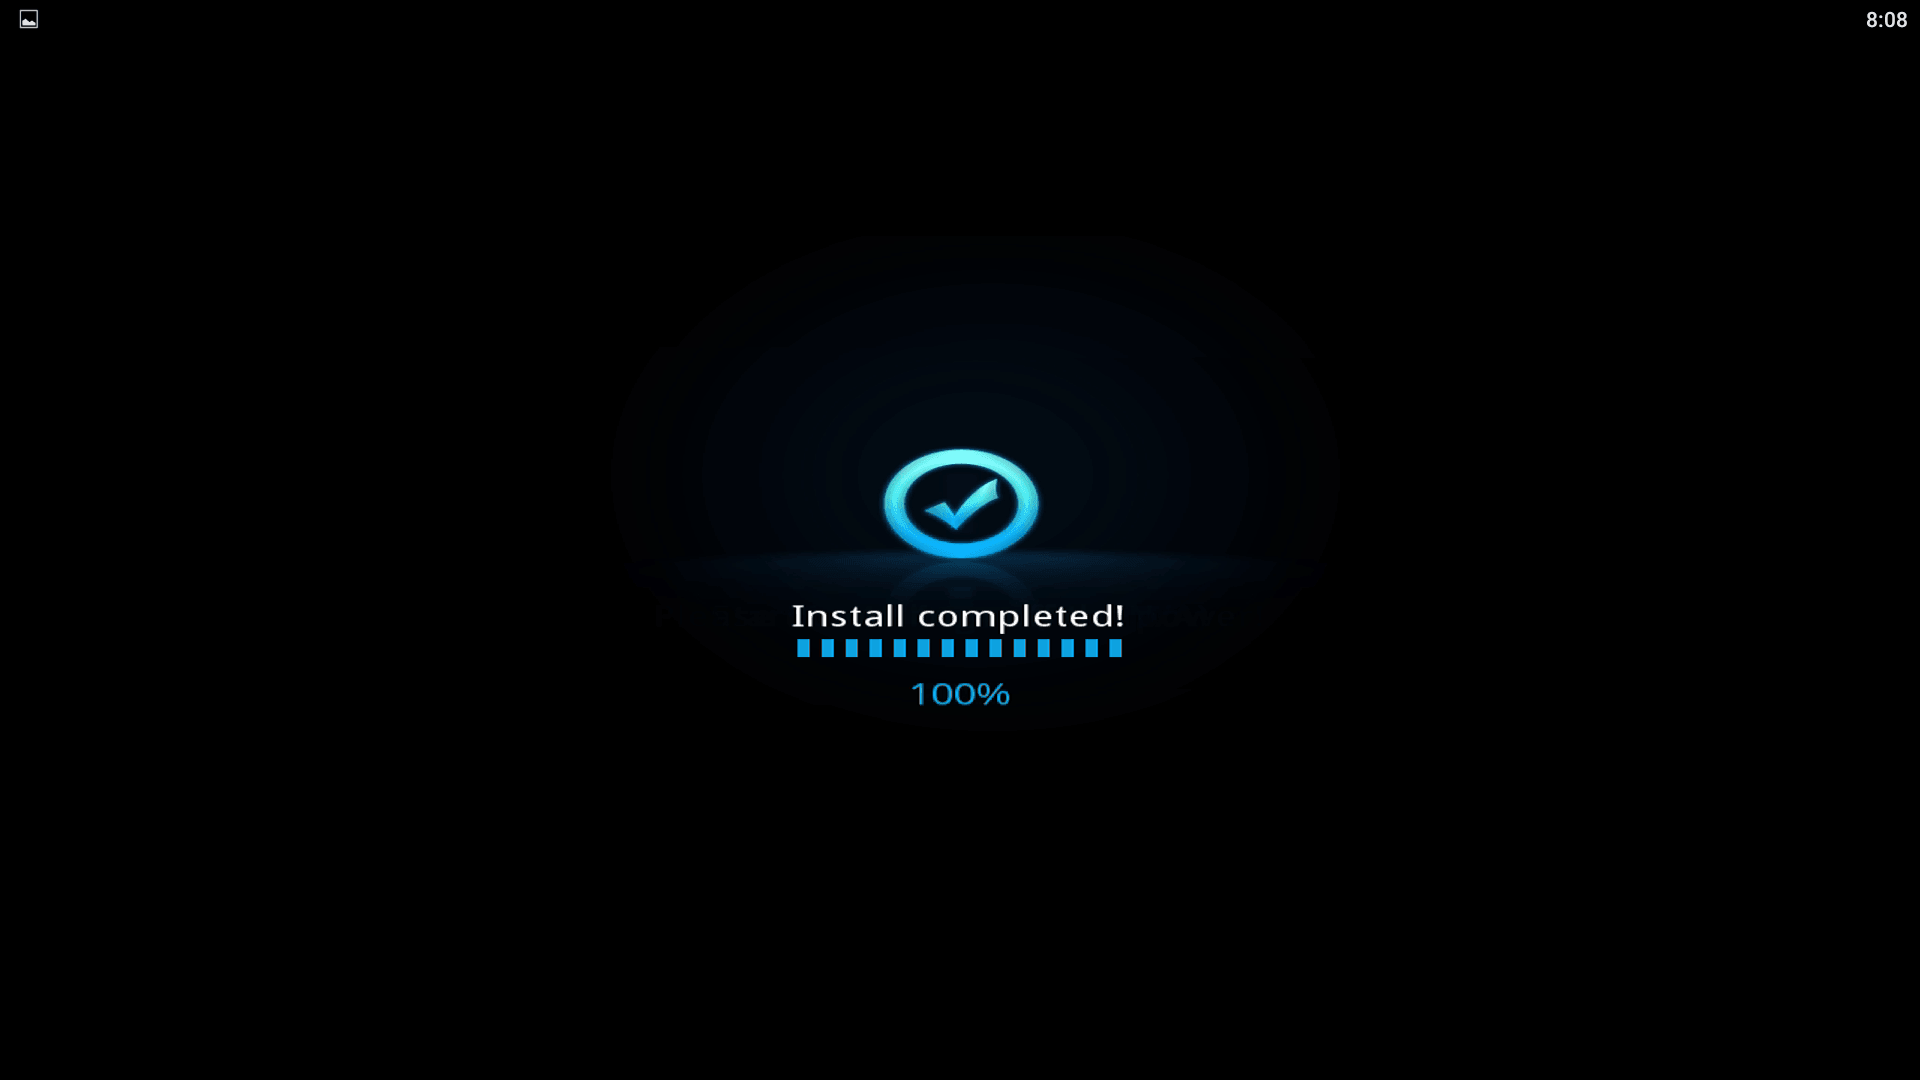
then it will enter the system automatically(It will be a little longer for the first time, about 2 minutes)
